
Before&After
For some reason, I always love seeing how other photographers edit their photos. What their image looks like straight out of the camera, and how they get to the final product. Today, I'd like to share a few of my own, and my editing process and very basic workflow. But first...a few notes:
First. I believe in editing evolution. Meaning, oh wow, my editing style/abilities have changed. Well, not changed, but evolved and grown and refined. Just as much as my shooting style and ability has done the same. I'll go back and look at edited photos of when I first started out, and it'll make me chuckle. The end goal? For me? One, not to be dated. Two, to be myself. Three, to shoot more and edit less. The more and more I shoot, the better I become. The better I get, the less editing I do and the more I realize I want my images to look natural, with still a polished and finished look.
Second. I use Aperture 3. So many photographers might think I'm totally bogus for using it, and not Lightroom 3. Fact is, I LOVE Aperture 3. And it works really well for my editing style and workflow. I have used Lightroom 3, and like it, but Aperture and I just kinda mold better together. Also, I rarely open up a photo in actual Photoshop. Aperture can do just about everything that I personally need, much like Lightroom can. As of right now, I don't use any actions, although I've got my eyes set on some Totally Rad Actions that I've heard great things about.
Enough talk...let's get to the pictures. Some of my photos I do VERY little editing to. They just seemed to look great right out of the box. Some I do a lot more editing to. So I'll try to showcase different scenarios.
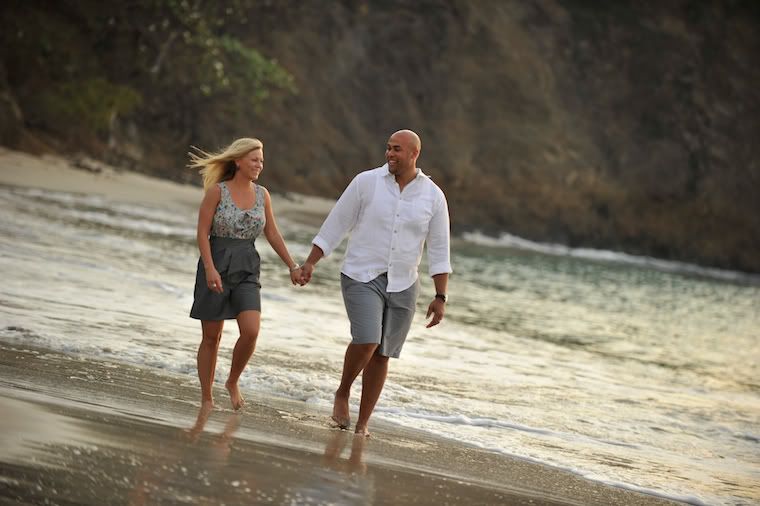
First Image SOOC (straight out of camera).
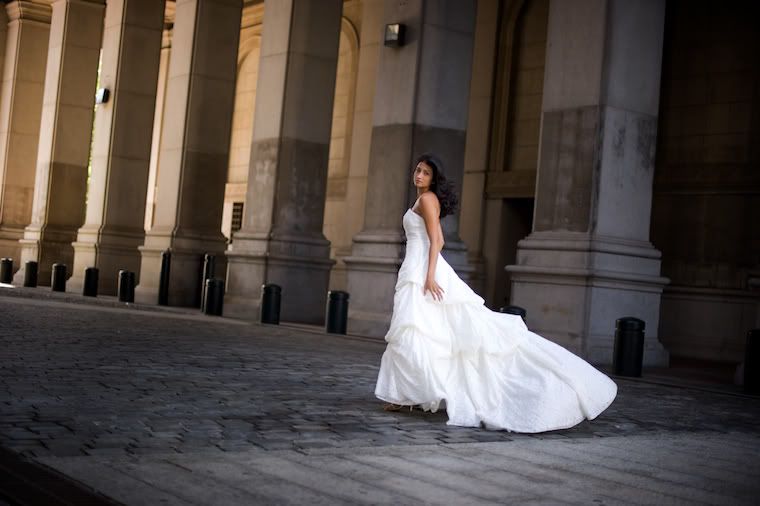
After editing:
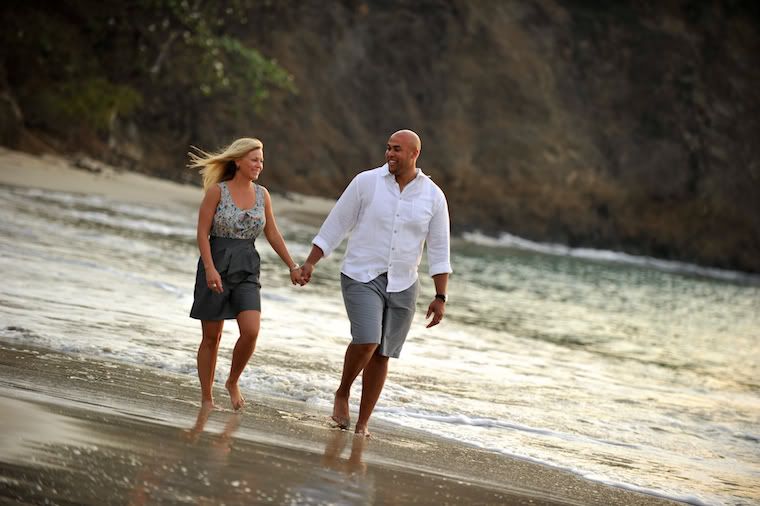
In this photo I used my very favorite tool (actually, I pretty much do this to all photos). It uses levels and your histogram. If you don't know how to read a histogram, let me know and one day I'll do a post about that. But here's a screenshot of the levels on this image:
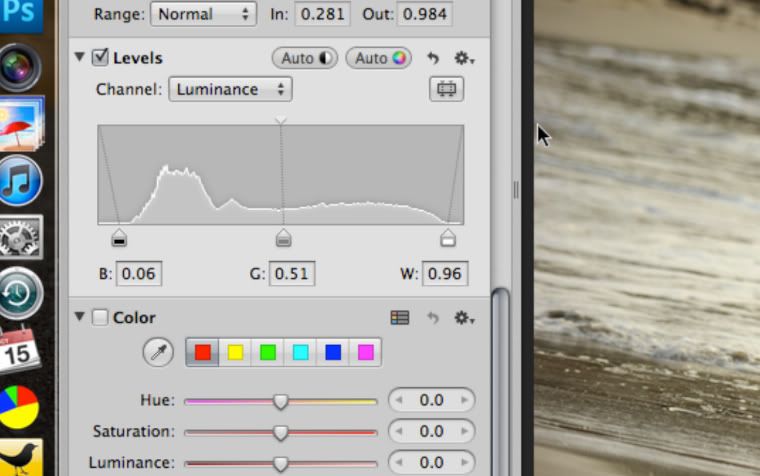
I bump up the blacks, and the whites depending on the histogram. I basically take the little black slider and slide it just about to where the "hill" of the histogram starts. And then I do the same to the whites (see picture above). I find this adds a really nice amout of contrast, and makes the blacks black, and the whites white. This works wonders on just flat grayish images...ESPECIALLY black and whites. Love it.
Second image SOOC:
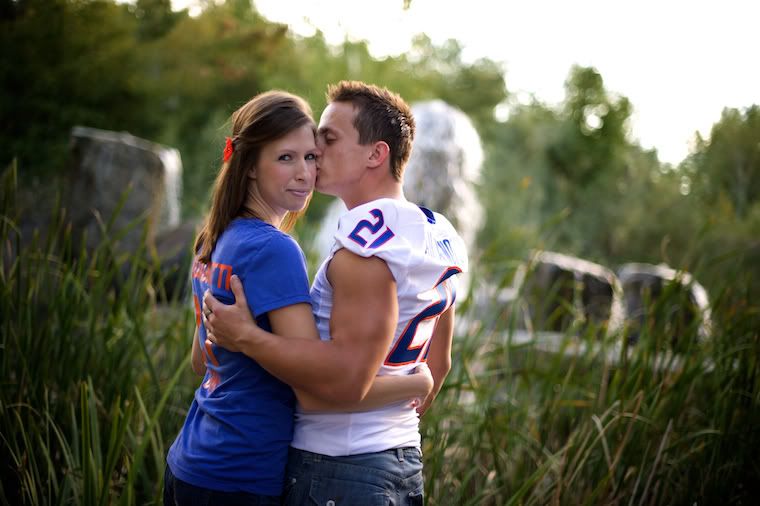
Edited:
I did a bit more with this one. But I started with the same technique above with levels. Bumped up blacks and white. Then decreased the exposure a bit, dodged (brighten) a bit of her face to make her stand out more, and burned (darken) a bit of the pavement because I found the bright spot distracting.
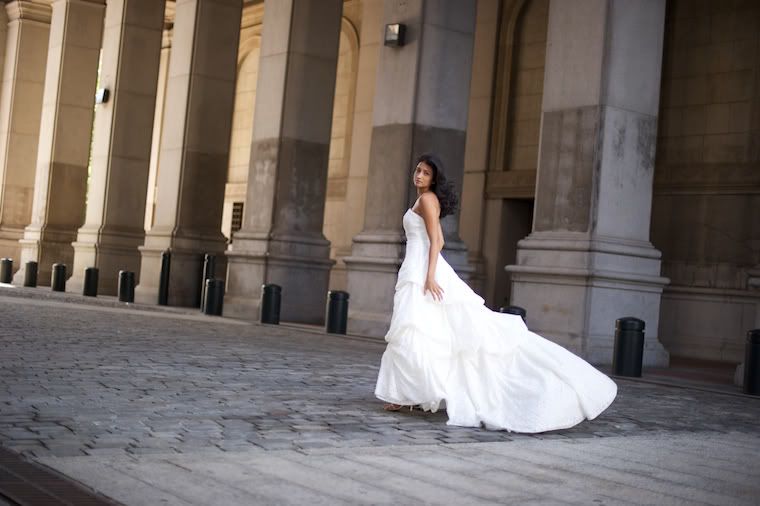
Third image SOOC:

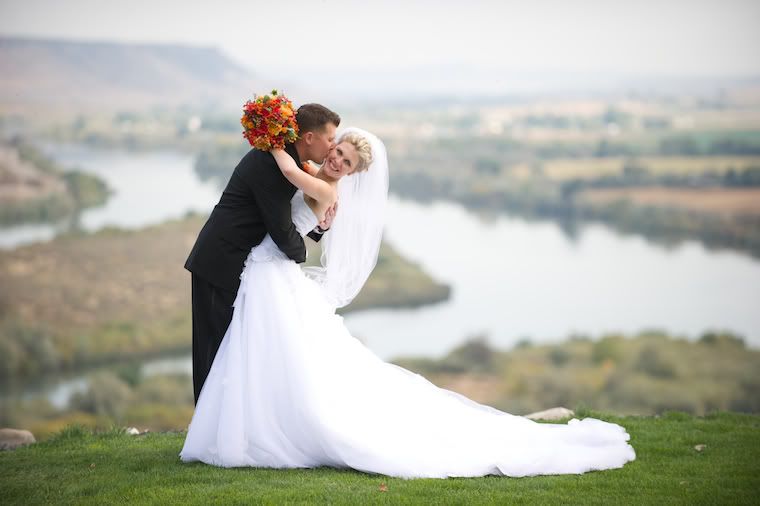
Edited:
Again, I did a bit more with this one. And again, levels adjustment (side note: because I shoot portraits almost always wide open at 1.4, it gives my images a slight vignette that I really like. When I bump up the blacks and whites in Levels, this increases the contrast, which in turn gives a stronger vignette. I rarely add an actual vignette to the actual images, unless I'm not shooting at 1.4). I also bumped up the Luminance in the Reds...a VERY cool trick I learned from Gray Photography. They explain it WAY better than I could, so check out their blog post here on luminance. Very cool stuff. Don't overdue it though!
Last image SOOC:
Edited:
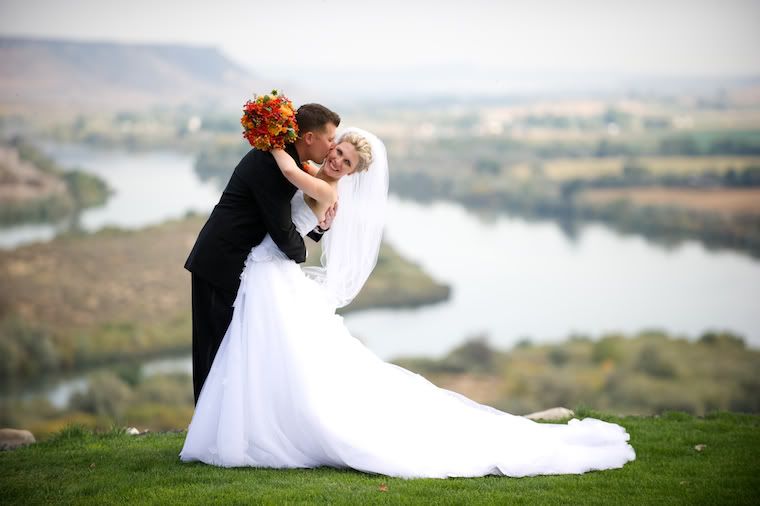
Not too much done with this image. I had great lighting, a gorgeous couple and a beautiful location. I upped the blacks in levels increasing the contrast a bit, added a slight vignette (not shot at 1.4), and lowered the exposure JUST a touch.
And that's all! I plan on doing other Before&After Posts here on the blog. I have one HUGE piece of advice, that I still need to listen to as well. When you learn a new editing technique, awesome...use it. But use it SPARINGLY! Use it till it looks good, and then back it down even more. I remember when I first learned how to vignette, all my pictures had BLACK perfectly rounded corners...yuck. Seriously Nate?
If you have any questions or suggestions, let me know! Thanks and enjoy!
7 comments:
subtle, subtle, subtle...
[ for weddings anyway :) ]
another great post nate.. running out right now but looking forward to having a proper dive in this weekend..
have a good one brother!
Thanks for sharing!
The last part about overdoing the vignette when you first learned how made me laugh. I did the SAME thing and now, it drives me bonkers. The same when portrait studios [like the ones in Wal Mart] put a white vignette around the edges. Eeeee... Thanks for sharing your tips. I have to say, your SOOC shots are fantastic.
@Laura, Thanks so much! And SERIOUSLY! Those white vignettes kill me! The other one that I forgot to add to the list was the Skin Softening...when I first learned that trick...HMMM!!! All my clients looked like porcelain dolls! With ZERO texture to their face at all. Double Yuck...seriously, it irks me now when I see the over glossified skin. But I can't say I've never done it!
: )
Thank you for sharing! I love these types of posts =)
Thanks for the hot tip on luminance! I also use Aperture 3 for everything and I really love it. Your post confirmed some of the techniques I have been using with Levels. Thanks so much for that. The luminance trick is amazing!
Great post Nate!
Subtle. That's my favourite kind of PP.
You have given me something to play with now though.
Cheers :)
Post a Comment